ArcGIS Pro
To install the Riverscapes Viewer for first time in ArcGIS Pro:
- Close all ESRI products.
- Download the latest Riverscapes Viewer addinx file.
- Once the addinx file is downloaded, double click it to install the AddIn. You will be prompted with a confirmation that the installation is complete.
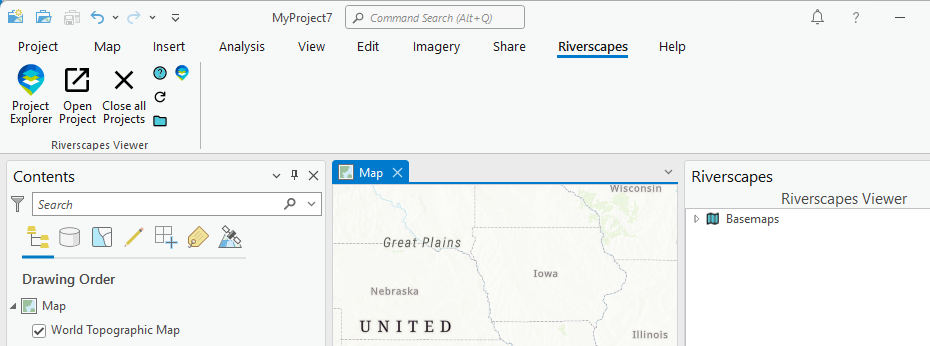
- Restart ArcGIS Pro and the Riverscapes Viewer toolbar will be available as one of the top level Menu items.
The Riverscapes Viewer for ArcPro works in Azure virtual environments. Follow the same steps as above to install the addin. The addin will persist between sessions and be available to you when you log back in.
Updating Resources
You will want to update resources just about every time you use the Riverscapes Viewer (including on a new install) to make sure you have the latest symbology and business logic. To do this, you simply go to the Riverscapes Viewer toolbar and click the update (circular arrow) button. This then downloads the latest files from the RiverscapesXML repo and places them in a local resource folder. You can browse to that resource folder from the toolbar by choosing Help → Find Resources Folder.
Updating Resources currently locks the ArcGIS Pro interface while it is downloading. Wait several minutes for the process to complete, after which time the user interface will become responsive again.
Minimum Requirements
The Riverscapes Viewer requires ArcGIS Pro 3.4 or above.
Video Demonstration
Updates
To update the Riverscapes Viewer addin, first remove any existing installations. Within ArcPro, navigate to the Project tab and choose Add-In Manager. Select the Riverscapes Viewer and click "Uninstall". Close ArcPro and install as per the steps above.
Minimum Requirements
Riverscapes Viewer requires ArcGIS Pro 3.3 or newer and the Microsoft .NET Framework 8.
Release Notes
See the release notes provided with the source code.
License
The Riverscapes Viewer is released under the GNU General Public License v3.0.